Lesson Plan: A Collaboration
7 July – 1 August 2015
![](http://www.heisergallery.com.au/wordpress/wp-content/uploads/cache/2016/05/lesson_plan_the_second_attention_2014_lr/357330433.jpg)
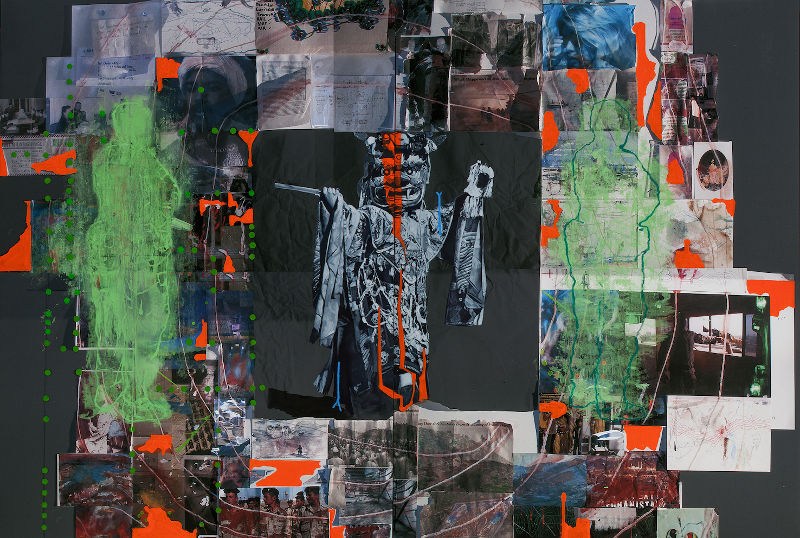
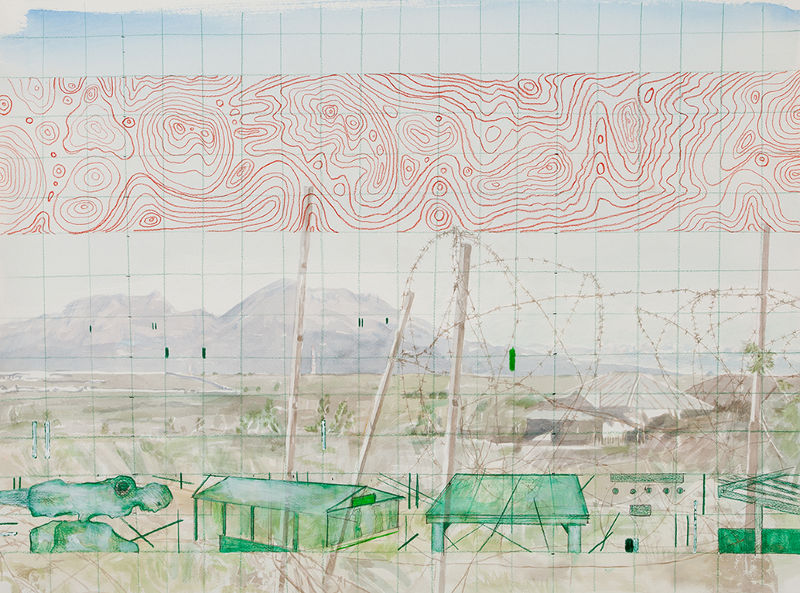
Lesson plan (The second attention) 2014
![](http://www.heisergallery.com.au/wordpress/wp-content/uploads/cache/2016/05/balibo_the_fort_2014_lr/3136779162.jpg)
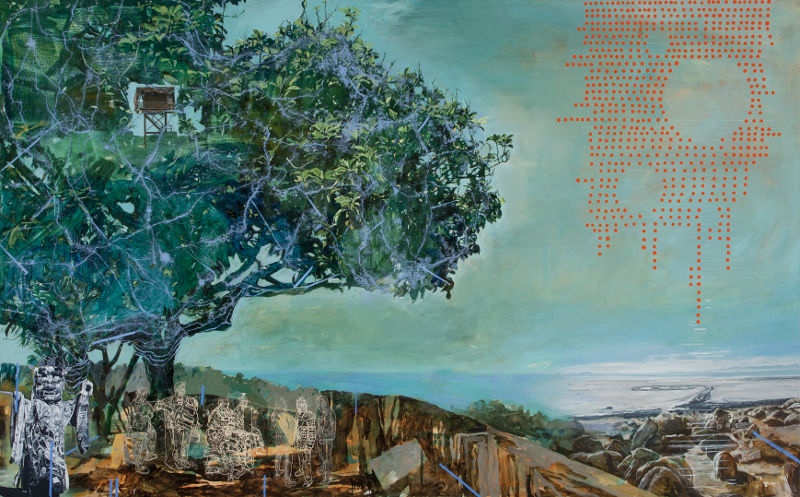
Balibo (The fort) 2014
![](http://www.heisergallery.com.au/wordpress/wp-content/uploads/cache/2016/05/scatter_dusk_santa_cruz_-2014_lr/698754702.jpg)
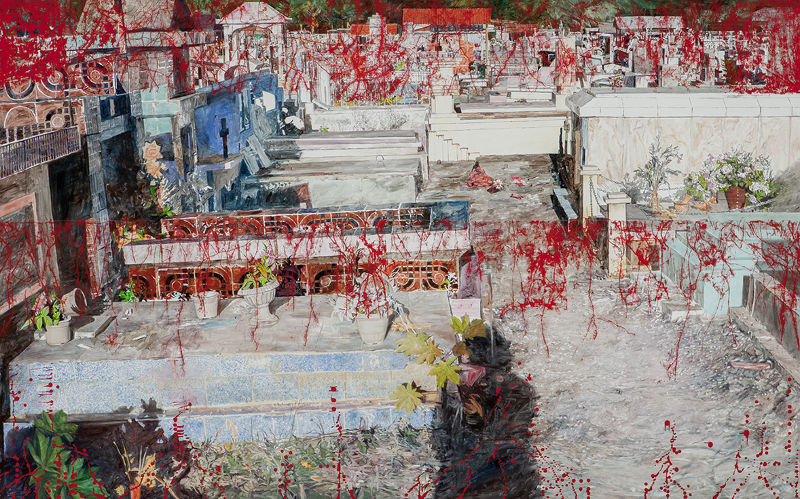
Scatter (Dusk, Santa Cruz) 2014
![](http://www.heisergallery.com.au/wordpress/wp-content/uploads/cache/2016/05/the_wheel_1_2015_lr/1043040476.jpg)
The Wheel, no.1 2015
![](http://www.heisergallery.com.au/wordpress/wp-content/uploads/cache/2016/05/the_wheel_2_2015_lr/255322229.jpg)
The Wheel, no.2 2015
![](http://www.heisergallery.com.au/wordpress/wp-content/uploads/cache/2016/05/the_wheel_3_2015_lr/532924434.jpg)
The Wheel, no.3 2015
![](http://www.heisergallery.com.au/wordpress/wp-content/uploads/cache/2016/05/towards_the_beginning_2014_lr/2054458477.jpg)
Towards The Beginning 2014
![](http://www.heisergallery.com.au/wordpress/wp-content/uploads/cache/2016/05/santa_cruz_2014_lr/3448585448.jpg)
Santa Cruz 2014
![](http://www.heisergallery.com.au/wordpress/wp-content/uploads/cache/2016/05/mountains_of_the_lost_world_bacau_2014_lr/4041362063.jpg)
Mountains of the Lost World, Bacau 2014
![](http://www.heisergallery.com.au/wordpress/wp-content/uploads/cache/2016/05/mountains_of_the_lost_world_bacau_2_2014_lr/2413647080.jpg)
Mountains of the Lost World, Bacau 2 2014
![](http://www.heisergallery.com.au/wordpress/wp-content/uploads/cache/2016/05/war_and_peace_3_explosives_2011_lr/1130527715.jpg)
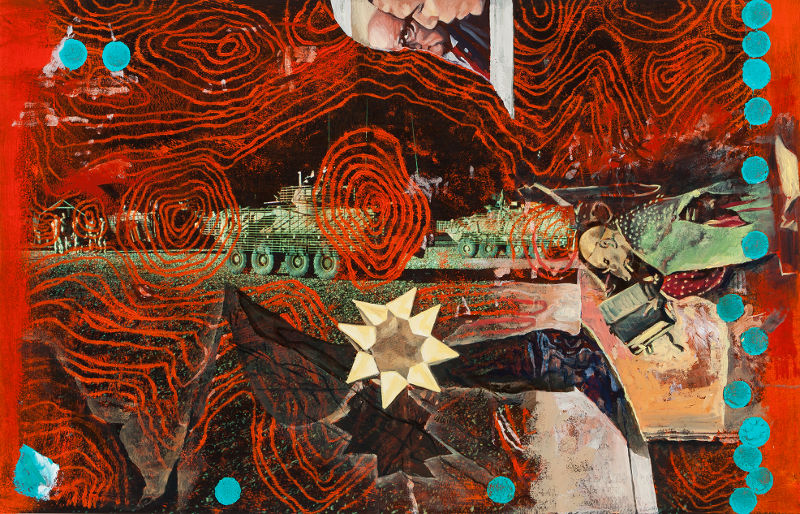
War and Peace #3: Explosives 2011
![](http://www.heisergallery.com.au/wordpress/wp-content/uploads/cache/2016/05/war_and_peace_4_the_palace_2011_lr/3561061070.jpg)
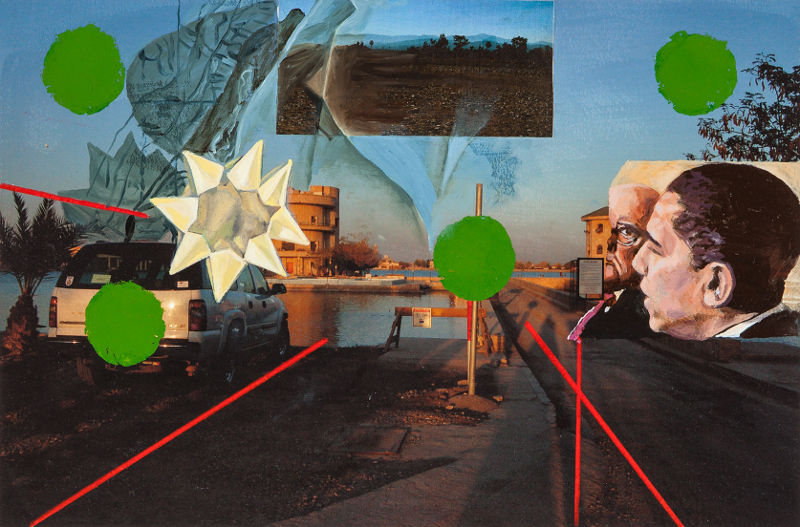
War and Peace #4: The Palace 2011
![](http://www.heisergallery.com.au/wordpress/wp-content/uploads/cache/2016/05/war_and_peace_5_bosch_2011_lr/3544251616.jpg)
War and Peace #5: Bosch 2011
![](http://www.heisergallery.com.au/wordpress/wp-content/uploads/cache/2016/05/war_and_peace_6_ghost_story_2011_lr/3214226726.jpg)
War and Peace #6: Ghost Story 2011
![](http://www.heisergallery.com.au/wordpress/wp-content/uploads/cache/2016/05/war_and_peace_7_empire_2011_lr/1610984000.jpg)
War and Peace #7: Empire 2011
![](http://www.heisergallery.com.au/wordpress/wp-content/uploads/cache/2016/05/war_and_peace_8_the_twin_2011_lr/253562261.jpg)
War and Peace #8: The Twin 2011
![](http://www.heisergallery.com.au/wordpress/wp-content/uploads/cache/2016/05/war_and_peace_9_haneef_2_2011_lr/2369167643.jpg)
War and Peace #9: Haneef 2 2011
![](http://www.heisergallery.com.au/wordpress/wp-content/uploads/cache/2016/05/war_and_peace_12_watchtower_2011_lr/2550042394.jpg)
War and Peace #12: Watchtower 2011